
This is a quick tutorial designed to teach you how to tile an image in photoshop. Before learning this easy method I would cut/paste a piece of my image until it filled the screen. That was such a waste of time. After you learn this trick it’ll literally take you 16 seconds to tile an image in the future.
You want to turn this:

into this:
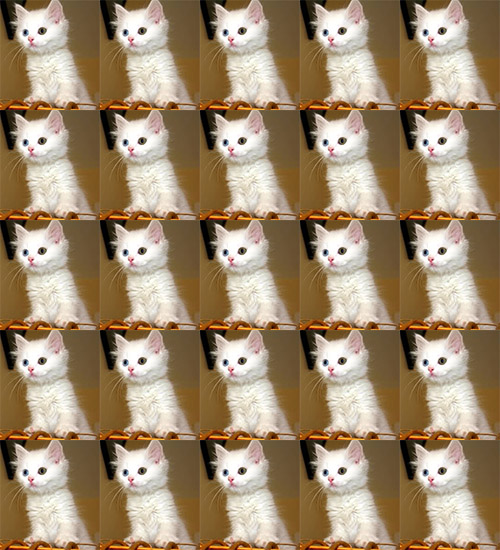
The internet just exploded
Steps:
- Open Photoshop
- Select the area you want to tile (you can press ‘m’ for the select tool and click/drag to select an area)
- From the menu select Edit->Define Pattern
- Name your pattern and click OK
- Select the Paint Bucket tool (press ‘g’)
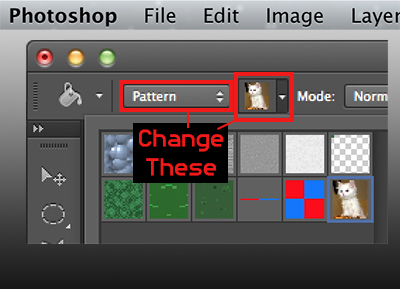
- Change the Source from Foreground to Pattern (see image below)
- Choose your pattern from the drop-down menu (see image below)
- Click in your image to paste your tiled pattern
Note: Make sure to create a new layer when you use the Paint Bucket Tool. This ensures you don’t mess up any of your current layers.
If you enjoyed this tutorial please check out the games I make in the sidebar 🙂
Also, if you want to share any photoshop tips please do so in the comments.